
*This item may ship directly to you from the manufacturer.*
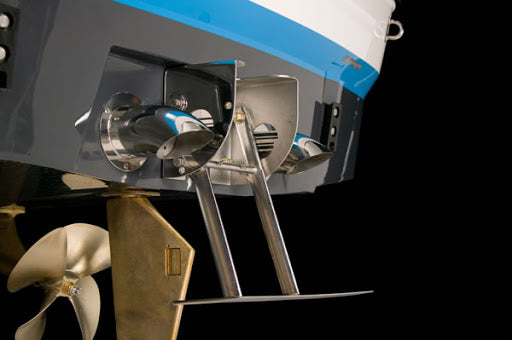
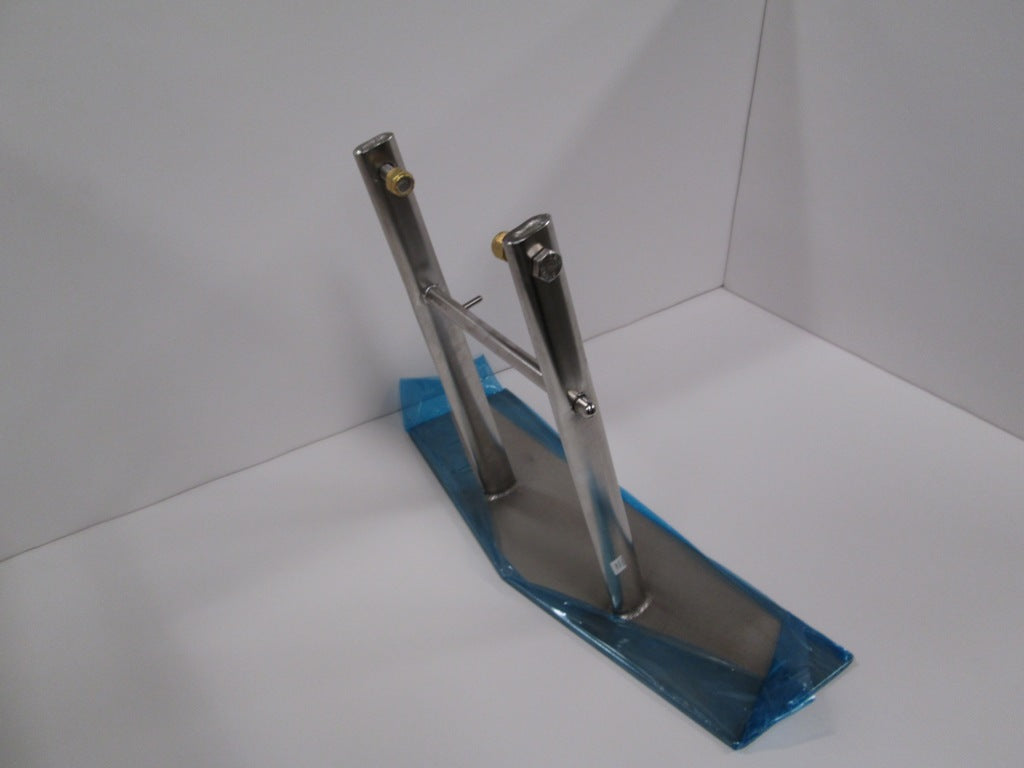
Manual Floating Wedge Foil only made for Malibu Boats and Axis Wake Boats. When deployed the wedge foil remains loose and travels up and down to seek the maximum downforce. It produces the equivalent of approximately 1,000 lbs of ballast inside the boat by pulling the back end of the boat deeper into the water. This wedge is OEM and may ship directly to you from the manufacturer.
FITMENT
This wedge assembly will retrofit onto older Malibus dating back to 2004.
INSTALL
TOOLS NEEDED
- Impact Drill
- Socket Wrench
- 3/4" Sockets
- Hardware
- Sealant
- Wedge (this is what you are ordering)
- Transom Bracket
- Backing Plate (if no wedge currently is installed)
- A buddy (This is a 2 person job)
- 1-3 Hours (Depending on experience level)
STEP BY STEP
Step 1) Remove wedge arm using impact drill, 3/4" socket, and 3/4" wrench. Remove bolts located on top of the transom bracket.
Step 2) Remove (4) transom bracket bolts. One person should be inside the boat with the 3/4" wrench, while the other person uses the impact drill to loosen the bolts. Remove the nuts, but keep the bolts in place for the time being.
Step 3) Remove the transom bracket from the boat. Use hammer to tap the bracket and loosen silicone if needed.
Step 4) Clean any build up or remaining silicone with adhesive remover.
Step 5) Ensure fit of your new transom bracket by lining up holes with your existing bolts.
Step 6) Remove old bolts and fill each hole with small amount of silicone. Apply ample amount of silicone around each hole
Step 7) Install the (2) wedge arm bolts to the bracket (located on side of bracket near the top).
Step 8) Mount the new bracket onto boat using the (4) new bolts. Make sure head of the bolt is on the outside of the boat.
Step 9) One person on the inside of the boat and one on the outside, tighten the bolts using the impact drill and wrench. Tighten in a criss-cross pattern.
Step 10) Insert wedge arm into the bracket with wedge arm bolts previously inserted on the bracket (step 7). Tighten bolts all the way
Step 11) Insert the nuts onto the wedge arm bolts. Tighten nuts so that the wedge arm is secure, but not too tight that it can't float up and down.
Step 12) Confirm wedge arm can freely move up and down and lock into locking position.
Step 13) Clean work area, get the boat on the water, and enjoy your new and improved wakes and waves.
